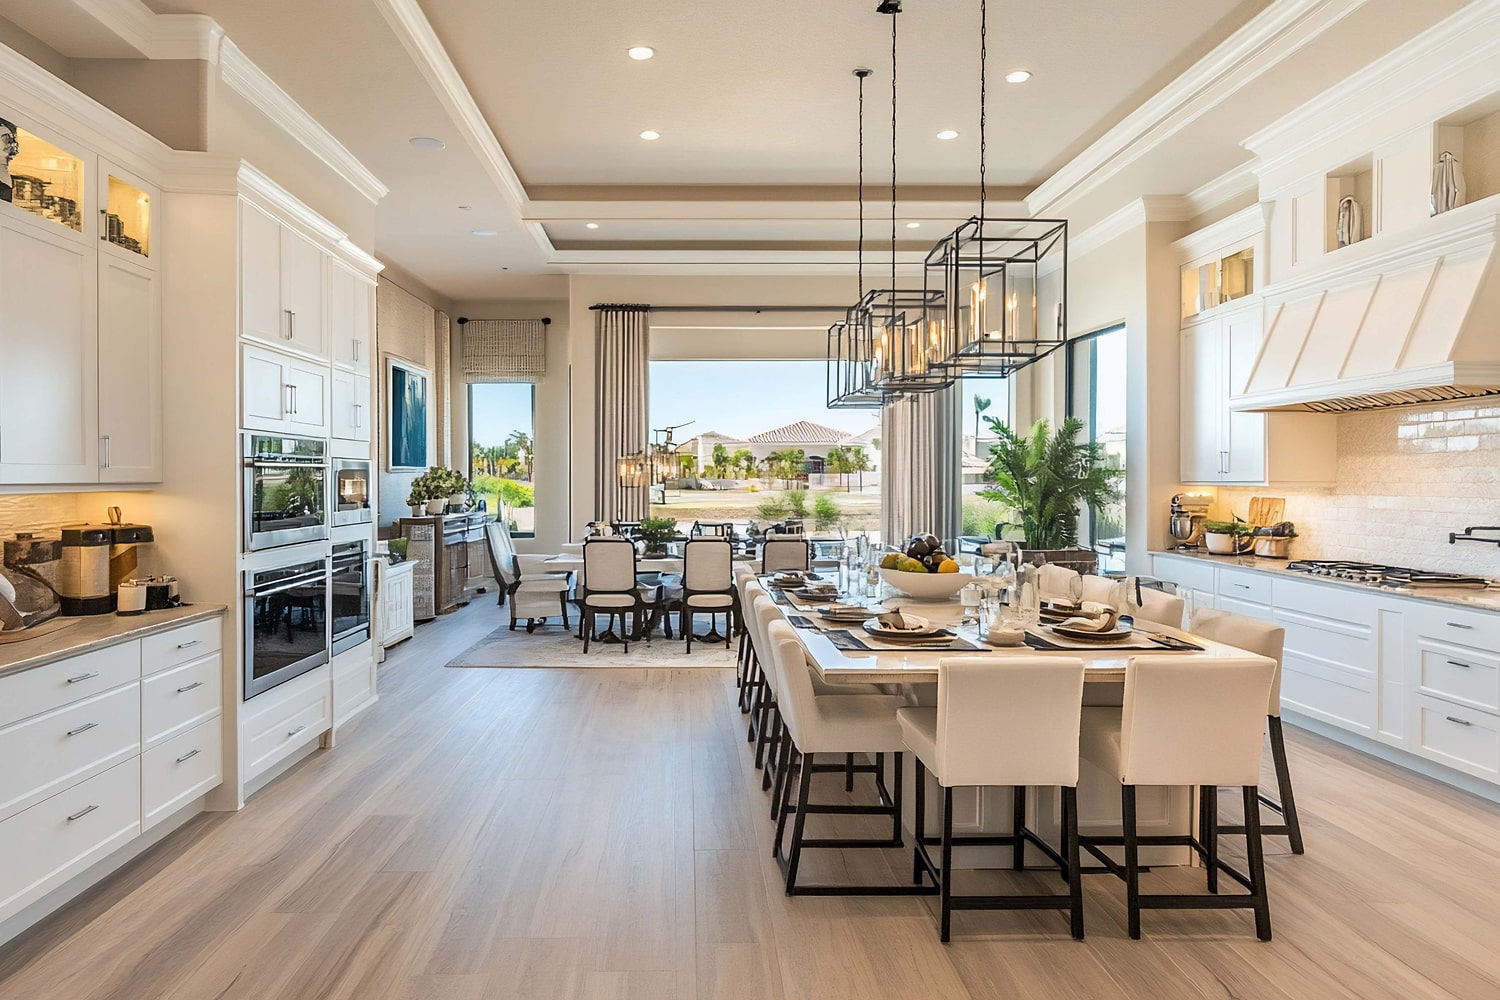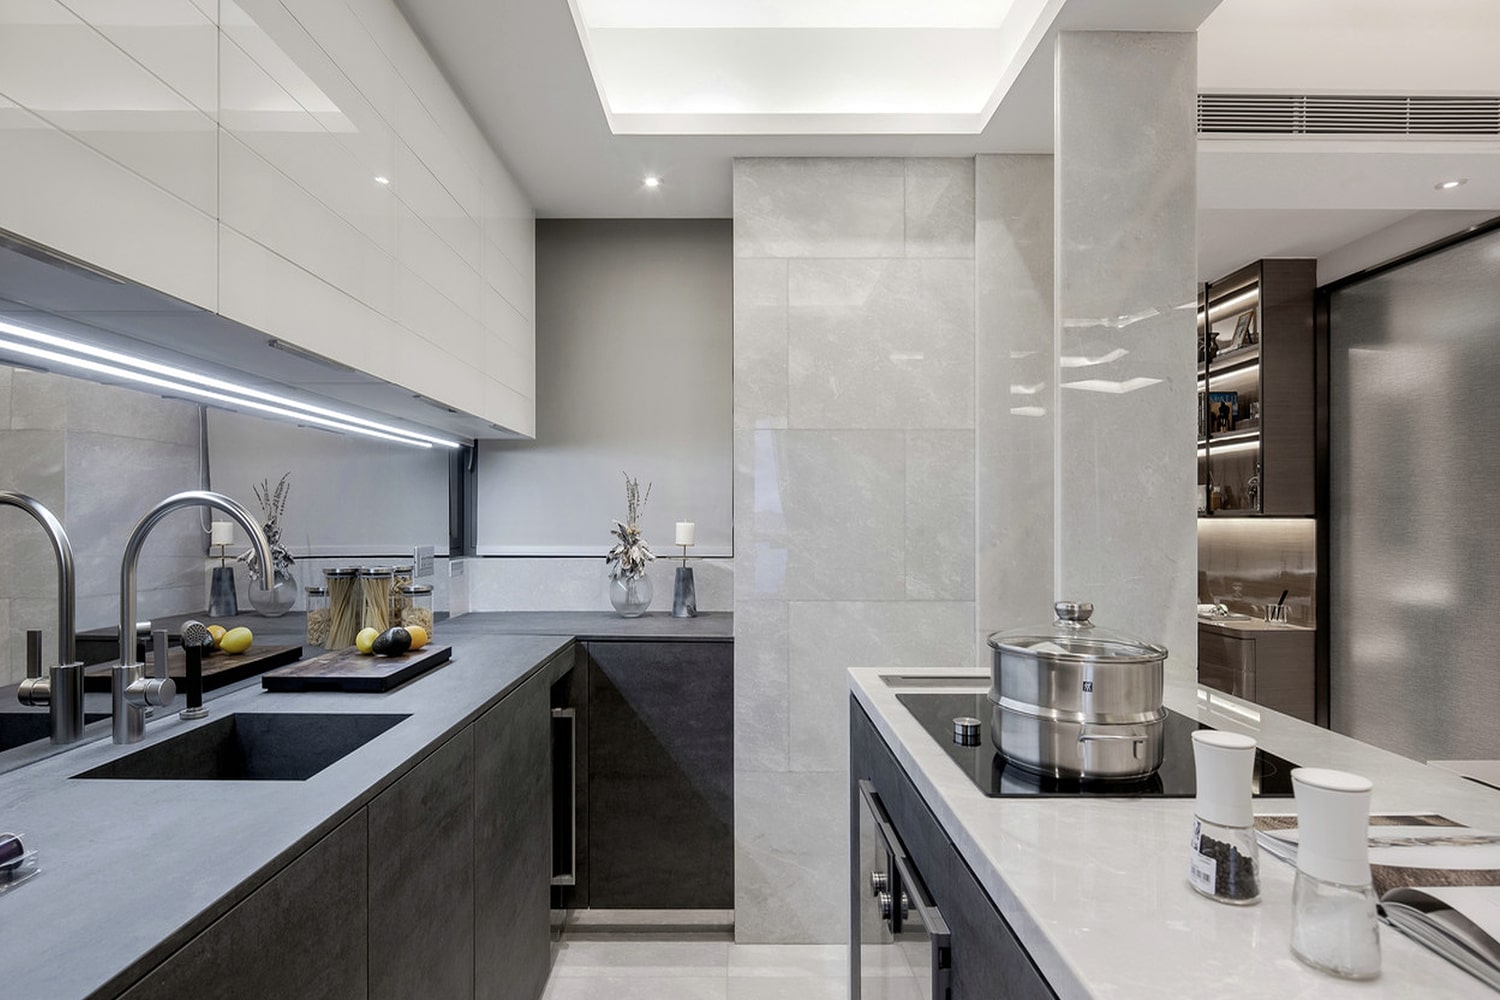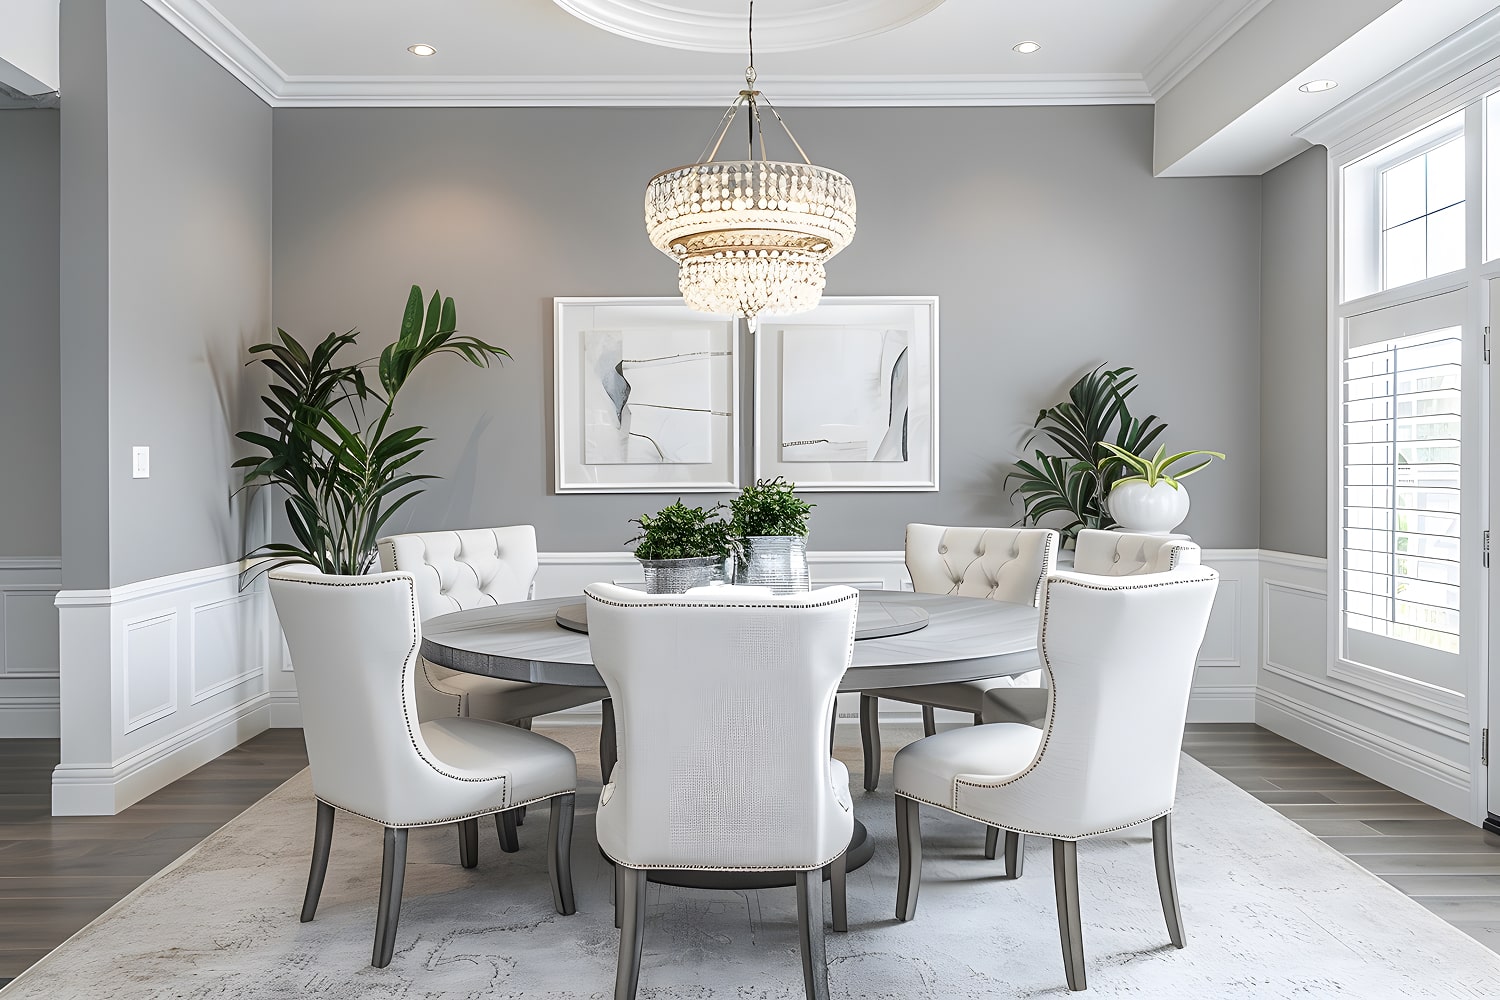
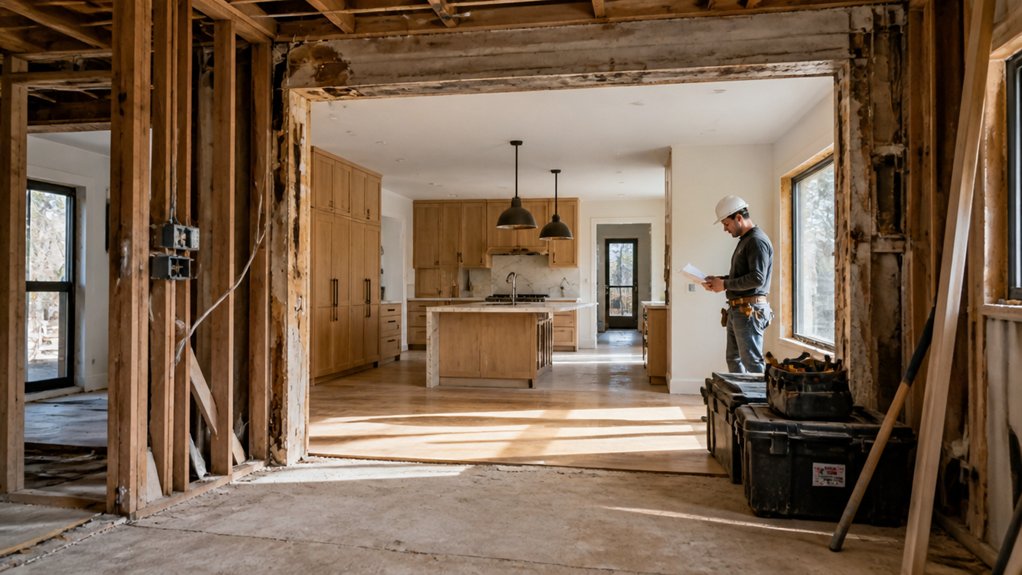
Imagine you’ve bought a dated two-story house and want to open the kitchen to the dining room without losing the warmth of its original trim. Before the first wall comes down, you’ll need to set a realistic budget, map out permits, and decide where you’ll live during construction. Each phase—from structural repairs and system installation to final inspections—shapes how the rooms look and work. One early decision, however, can affect the entire renovation timeline.
Set Your Whole-House Renovation Budget and Timeline
Before the demolition dust settles, decide what you can spend and how long you can live with the disruption. Walk through each room and list the changes that matter most: a brighter kitchen, quieter bedrooms, or a more open connection between living spaces. Assign costs to those priorities, then compare your estimates with budget benchmarks for similar projects. Keep a contingency for hidden damage and rising material prices, so one surprise doesn’t force you to sacrifice the finishes you love.
Map timeline milestones from design decisions through construction and final cleanup. Ask your contractor how long each phase may take, and note where delays could affect daily routines. If you’ll stay home, plan around temporary kitchens, blocked hallways, and dust. Set realistic dates, and protect breathing room between major stages.
Get Permits and Finalize Your Renovation Plans
Once your budget and timeline are set, turn your renovation ideas into permit-ready plans. Work with your designer or architect to finalize scaled drawings that show room dimensions, wall changes, window and door locations, and mechanical systems. Check that each choice supports how you’ll move through the home while preserving the light, sightlines, and finishes you want.
Before submitting, confirm local requirements for structural, electrical, plumbing, and energy permits. Ask your building department about fees, review times, inspections, and required documents. Verify setbacks, height limits, and historic-district rules to catch zoning conflicts before they reshape your layout. Clear, coordinated plans help you avoid permitting pitfalls, costly revisions, and delays. Keep approved drawings, product specifications, and permit records together, and share the final set with your contractor so everyone prices and schedules the same scope. Don’t begin work until approvals are in hand.
Demolish, Inspect, and Repair the Structure
With permits in hand, your contractor can begin demolition, removing finishes and nonstructural elements while protecting areas that will remain. Careful demo planning keeps adjoining rooms, windows, and original details safe from dust and impact.
Your crew can open walls and ceilings in stages, revealing framing, joists, and connections without disturbing more than necessary. As materials come down, debris management keeps walkways clear and separates reusable items from waste.
Once the structure is exposed, you and your contractor can inspect it for rot, cracks, sagging, water damage, or outdated repairs. Check floor levels and wall alignment, especially where new openings or room changes are planned. Address problems before covering them again: reinforce weak framing, replace damaged members, and correct moisture sources. Document hidden conditions and approved repairs, preserving a sound, stable shell for the work ahead.
Install Systems and Finish Your Whole-House Renovation
Behind the repaired structure, your contractor can now install plumbing, electrical wiring, and HVAC, routing each system through walls and ceilings before insulation and drywall conceal the work. You’ll want outlets placed where you’ll use lamps and appliances, vents positioned for even airflow, and switches aligned with doorways. These design considerations should support your space planning without crowding walls or interrupting sightlines. Once rough-ins pass review, crews add insulation, hang drywall, and smooth seams for a clean surface. Then paint, flooring, cabinetry, tile, and trim bring your rooms together. Choose finishes that coordinate across connected spaces, while letting focal points—such as a kitchen backsplash or a fireplace surround—stand out. Your contractor can install fixtures and hardware last, protecting delicate finishes as the renovation nears completion.
Pass Final Inspections and Prepare to Move In
As finishes settle into place, your contractor can schedule final inspections to confirm that electrical, plumbing, HVAC, and life-safety systems meet code. Keep permits, product documents, and access routes ready so inspectors can move efficiently from room to room. If they flag corrections, address them promptly; inspections delays can affect your move-in date and final payments. Once you receive approval, walk through the house with your contractor in daylight. Test faucets, outlets, lights, appliances, and heating controls, and note any unfinished trim, paint touch-ups, or sticking doors. Confirm warranties, shutoff locations, and maintenance instructions before the crew leaves. Then coordinate moving logistics: measure tight stairways, protect new floors, and schedule deliveries around cleaning and touch-ups. Set up essential rooms first, so your home feels settled while you unpack.